


 TV Operators
  Healthcare
  Digital Signage
  Hospitality
  Education


 TV Operators
  Healthcare
  Digital Signage
  Hospitality
  Education
 Overview
The OTA (Over-the-Air) Update Engine command enables you to provide and install updates to an Android device’s operating system or apps. It differs from the OTA option in that it is intended for Android devices running Android 8 or higher, and that have an A/B slot partition. This command will ensure a faster, safer, and more reliable update to the Android device’s firmware. An important advantage of the OTA Update Engine option is that if an unexpected issue arises with the update, there is a mechanism to roll the device back to its previous state.
Accessing the OTA Update Engine Command
There are four methods to access the OTA Update Engine command:
Method 1: From the Repositories Console:
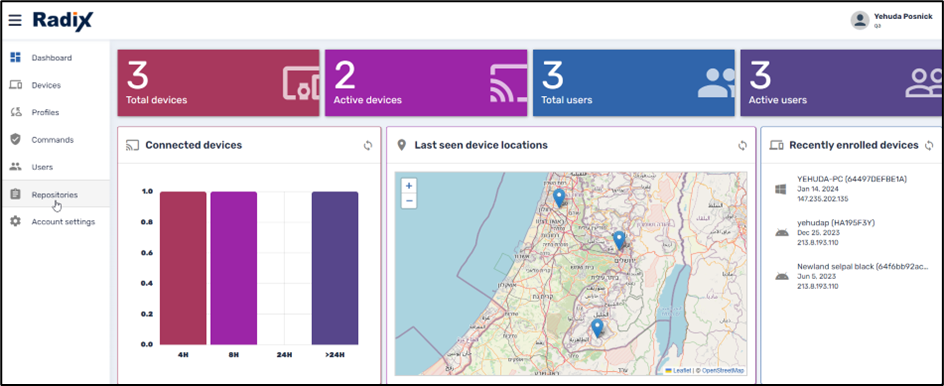
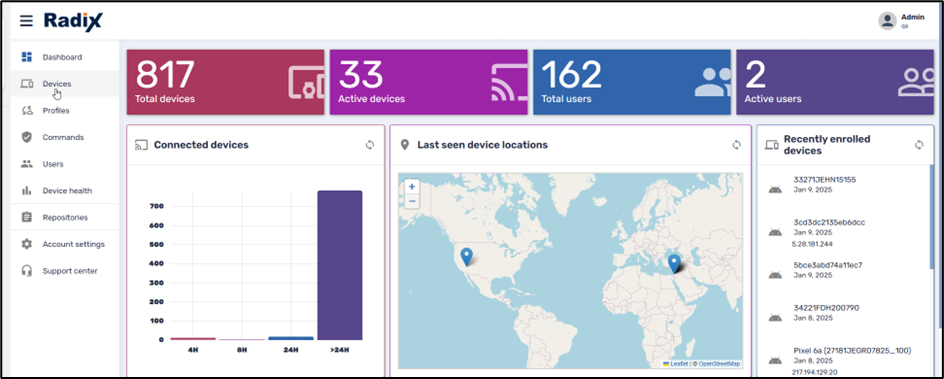
1. Click on the Repositories Console icon on the left-hand side of the Overview Dashboard.
2. From the Repository commands options, click on OTA Update Engine.

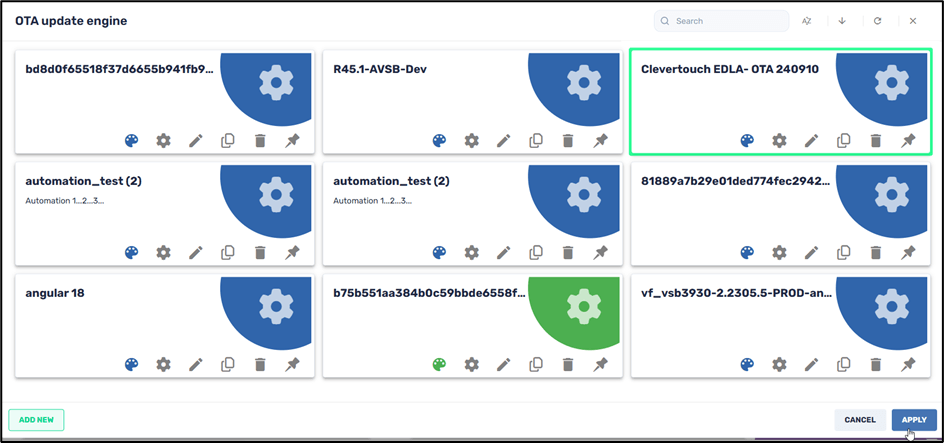
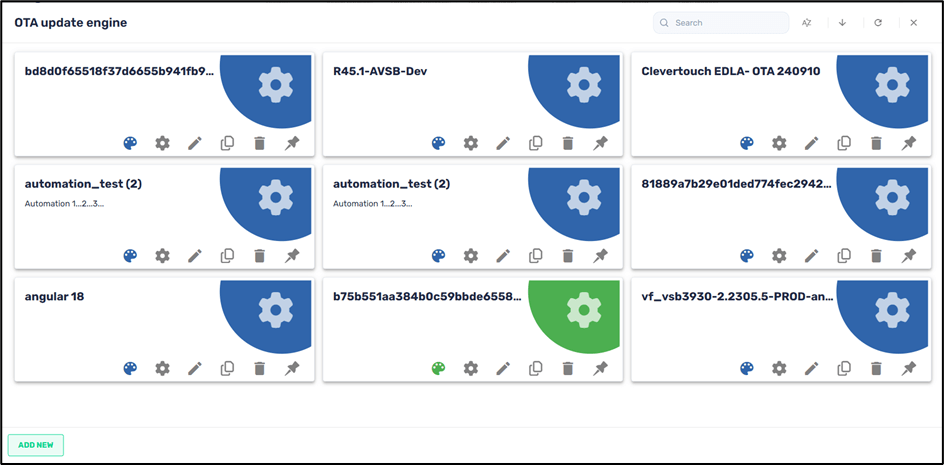
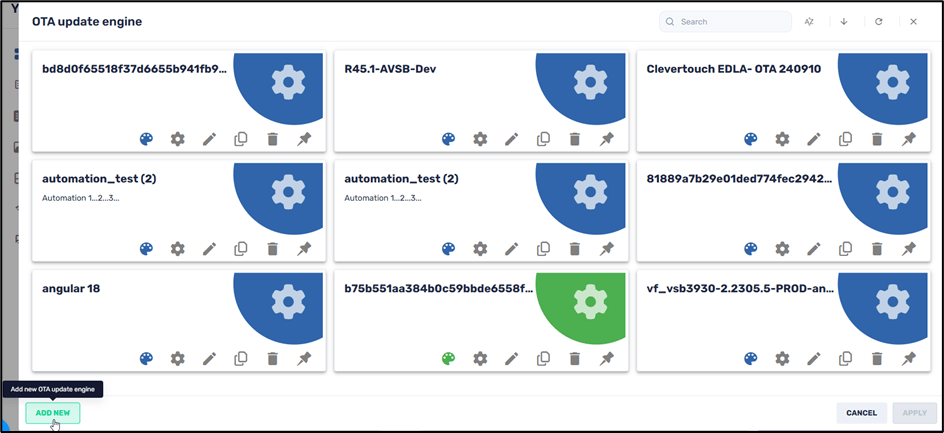
The window opens, showing stored OTA update options.
Method 2: From the Device Console Ribbon:
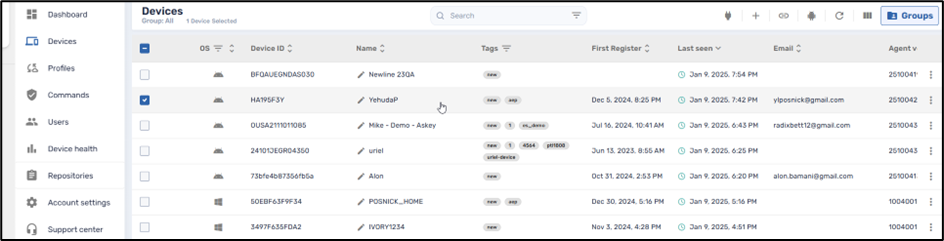
1. Click on the Devices Console icon on the left-hand side of the Overview Dashboard.
2. From the Devices Console, select the device to which you would like to apply the update by clicking on the checkbox in the column on the far left.
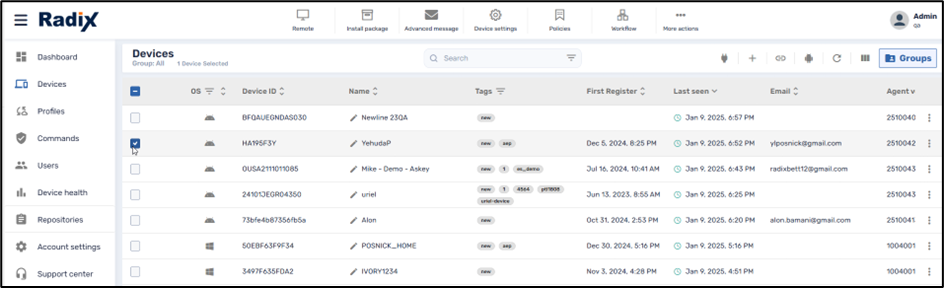
The icons at the top of the Devices Console (the “Devices Console Ribbon”) become active.
3. Click on the More actions icon and select OTA Update Engine.
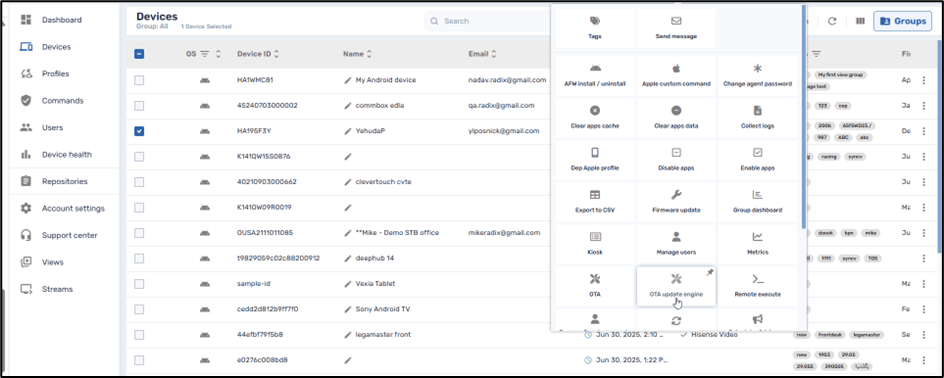
The OTA Update Engine window opens, showing stored update options, as above in Method 1.
Method 3: From the Device’s Kebab Menu:
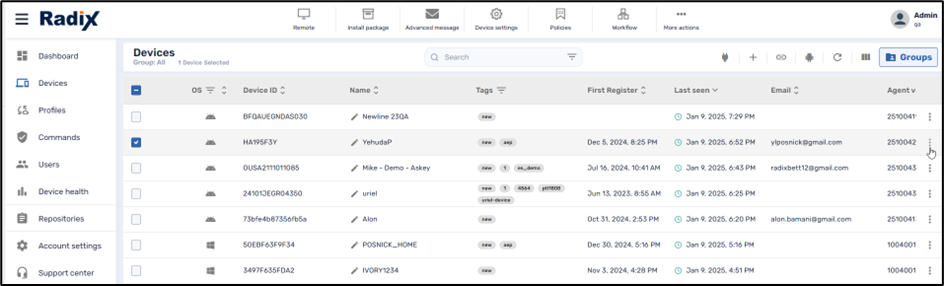
1. Click on the Devices Console icon on the left-hand side of the Overview Dashboard.
2. From the Devices Console, find the device to which you would like to apply the certificate, and click on the kebab menu in the far-right column:
3. In the grid of commands that opens, click on the OTA Update Engine command to open the OTA Update Engine window:
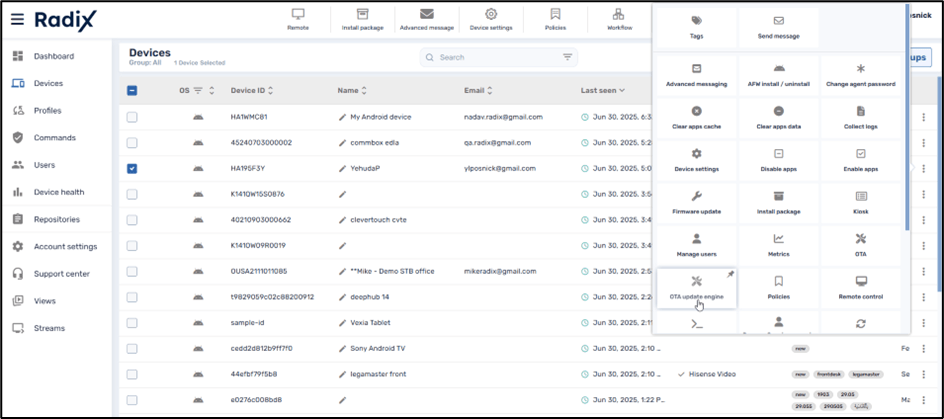
The OTA Update Engine window opens, showing stored update options, as above in Method 1.
Method 4: From the Device Dashboard:
1. Click on the Devices Console icon on the left-hand side of the Overview Dashboard to open the Devices Console.
2. Find the device to which you would like to apply OTA updates, and click anywhere on the line of that particular device.
The Device Dashboard opens.
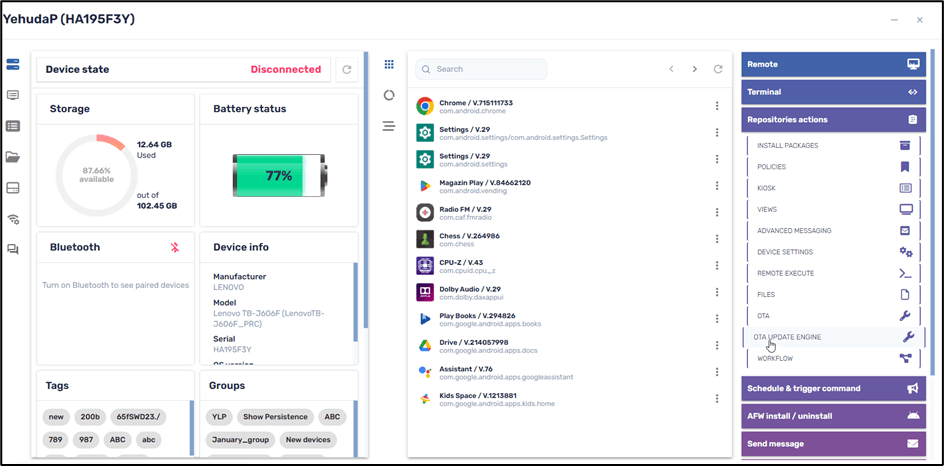
3. On the right-hand side of the screen, click on Repositories Actions, and select OTA Update Engine, to view the options.
Creating a New OTA Update Engine Configuration
To create a new OTA update engine configuration for installation on remote devices:
1. Click on Add New in the lower left corner of the OTA panel of options.
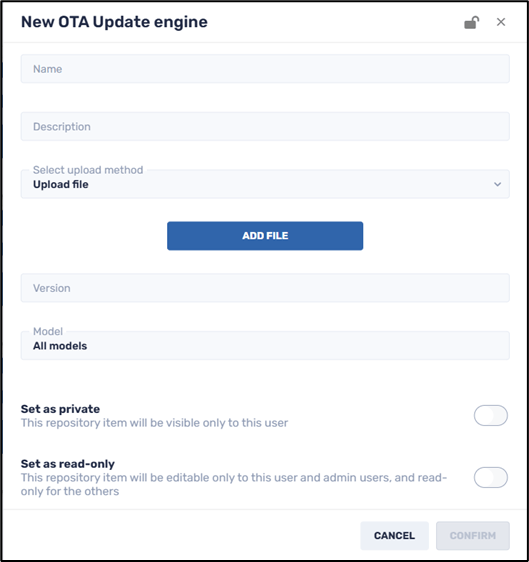
The New OTA Update Engine window opens.
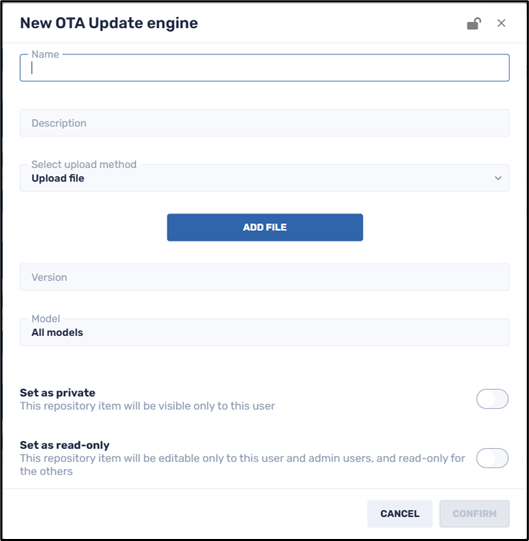
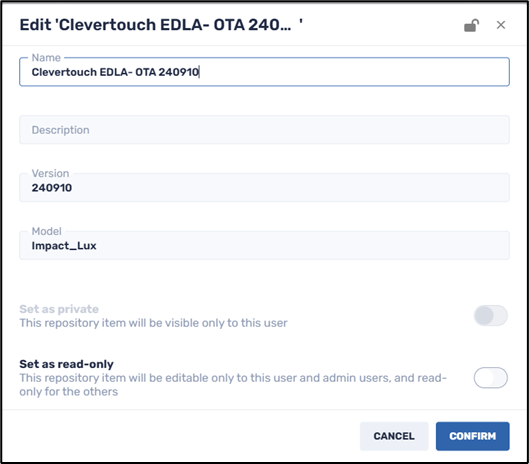
2. Supply a name for the OTA update and a description that will appear in the tile for that OTA update in the OTA repository. If you do not assign a name to the update, the file name of the upload will serve as the OTA update name. In the example below, the name of the OTA update engine is the name of the Clevertouch file that was uploaded.
3. Select the upload method for the OTA update. The two options are:
a. Uploading a file from your computer:
b. Getting an update file from a URL:
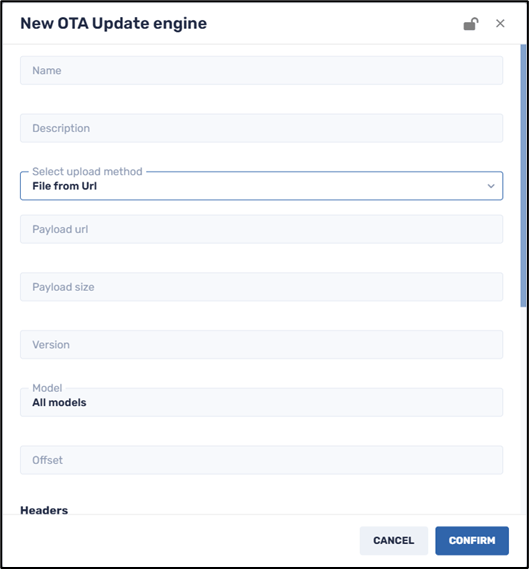
4. If you choose to download the OTA update file from a URL, you will need to supply the following parameters: the URL of the update file, its payload size, the version number, the offset at which the upgrade image data begins, and any headers to the update file.
5. Click on the Set as private button if you would like the OTA setting to only be visible to you (as the creator of the item) when using the Radix Device Manager.
6. Click on the Set as read-only button if you would like to limit who will be able to edit the details of the OTA setting. Anyone with Administrator privileges can edit it, while someone with only User privileges can only access and use it, but cannot edit it. When you click on Set as read-only, you will see the lock icon at the top of the screen turn to a “locked” position.
7. Click Confirm to save the OTA setting.
Sending an OTA Update Option to a Device
1. To send an OTA option to a device, select the relevant title and click Apply.