


 TV Operators
  Healthcare
  Digital Signage
  Hospitality
  Education


 TV Operators
  Healthcare
  Digital Signage
  Hospitality
  Education
 Overview
The Viso Agent app is the interface by means of which the remote devices communicate with the Radix Device Manager. After installing the Viso Agent app on the remote devices in your fleet, the device administrator will be able to initiate the commands in the Radix Device Manager for the fleet. You may also have to download and install the appropriate SCManager service file on your remote device. Installing SCManager will ensure that the device has all of the necessary low-level device management permissions.
For more information, feel free to contact Radix’s technical support team.
Enrolling a Remote Device
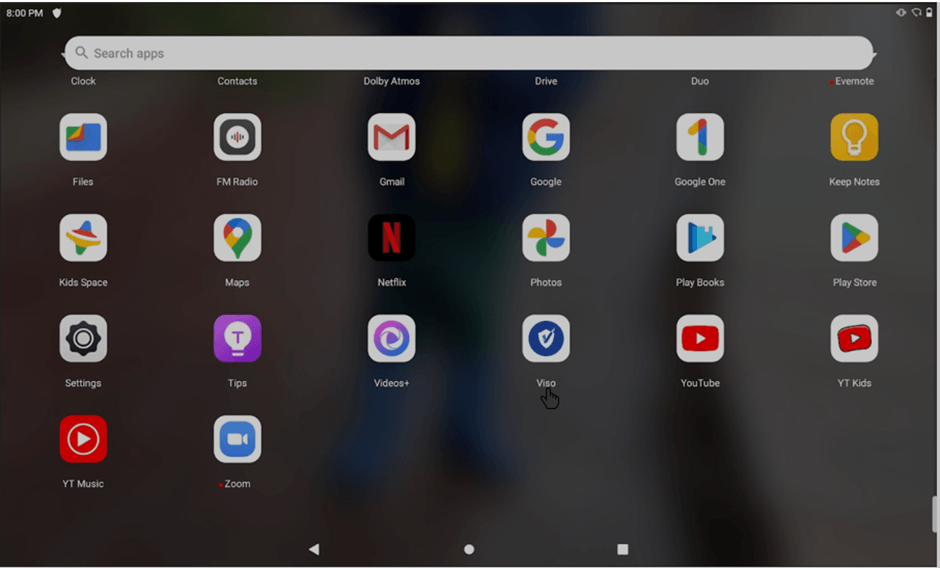
Once you have installed the Viso Agent app on the remote device, click or tap on the Viso Agent icon. Here is a typical display on an Android tablet:
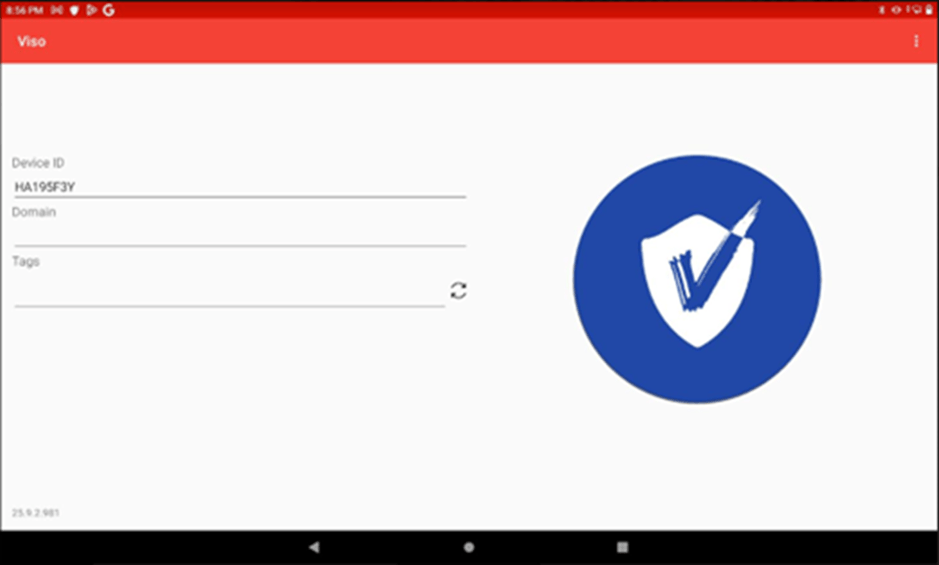
The Viso screen will open, displaying the Domain Name and tags. These are blank presently, since we haven’t associated the remote device with a Radix Device Manager account yet.
Configuring the Remote Device
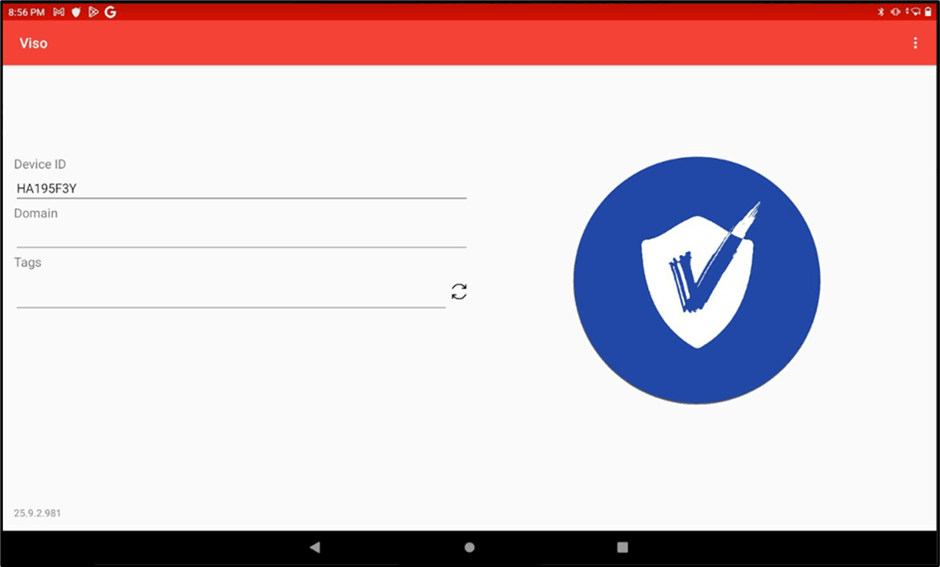
Once you have installed the Radix Device Manager Client app on your remote device, you must configure it with the proper domain name and tags. At first, the Radix Device Manager screen appears like this:
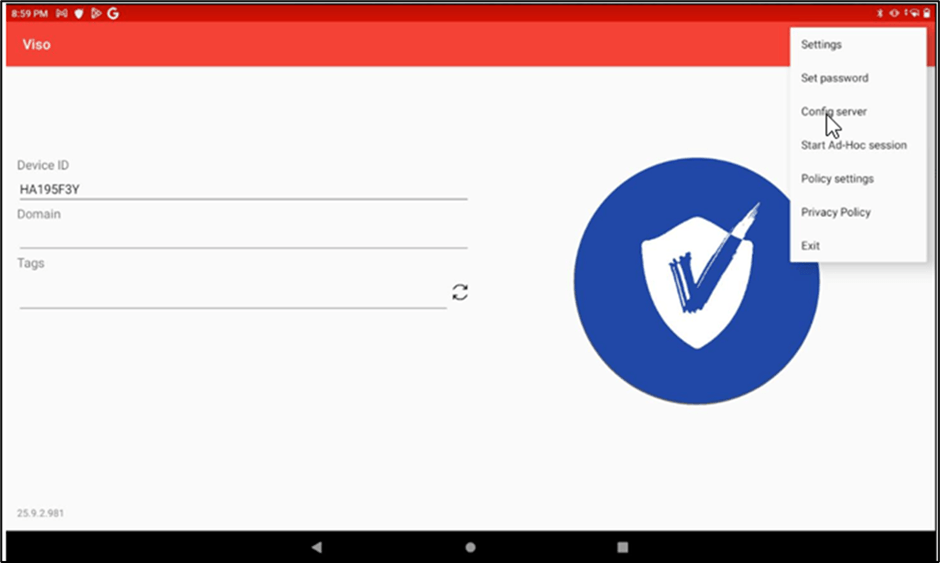
To configure the device:
- Click on the kebab menu in the upper right-hand corner and select Config Server.
The Connection Info window will open.
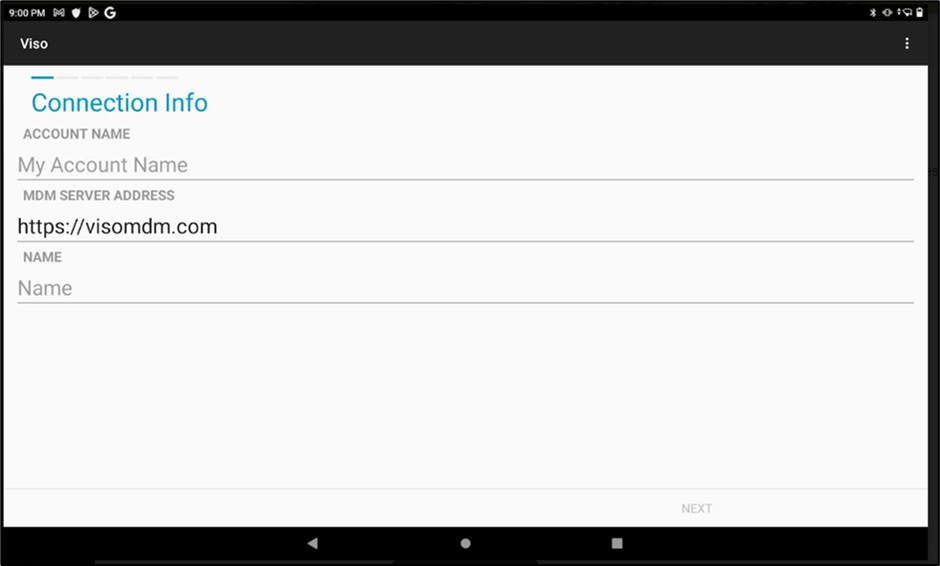
- Supply your Account name or Domain name, depending on the agent version. Make sure that you enter the name as registered and click Next.
- In the next screen, supply the identifying tags that will define the fleet to which the device belongs and click Next. Add tags that will help you identify, sort, filter, and group devices. You can add or remove tags later, either on the remote device or via the Radix Device Manager.

- You will receive a prompt for an (optional) password to apply to the remote device. Check the box next to Set Password to make it possible to supply a password.
- Enter the password, confirm it, and click Next.

- The next page has information about the User Data Policy. Scroll to the bottom of the page, click the checkbox I Agree, and click Next.
- On the EULA page, click the checkbox I Agree, and click Next.
- Review your account information on the last screen and click Finish.
- If you are enrolling an Android device, you must install the SCManager, as described below in the next section.
Installing the SCManager from the Device’s Settings
For enrolling remote Android devices, you may have to use the SCManager. There are SCManager files for each specific Android device, so that the device can utilize the full functionality of the Radix Device Manager. Click on the download link in your registration confirmation email, or click here to get to the SCManager download page.
Note: The SCManager file is not required for Samsung and Sony mobile devices.
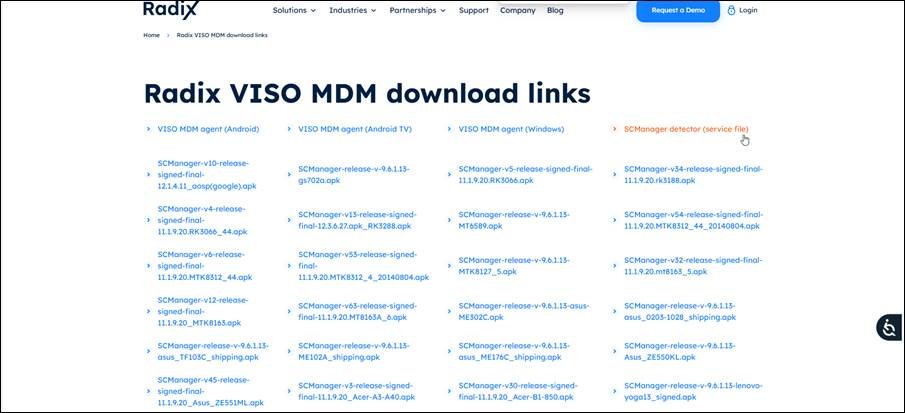
In the list of links, click on the SCManager detector to find the correct apk package for your Android device.
After installing Viso on your Android device, you can also access the SCManager from the device’s settings.
1. Click on the Viso app and click on the kebab menu in the upper right corner.
2. In the drop-down menu, select Settings. The Settings window opens.
3. In the list of settings, click on Find SCManager. It will automatically find the correct SCManager file for your Android device.
4. Once you have found the correct SCManager file, click on Download.
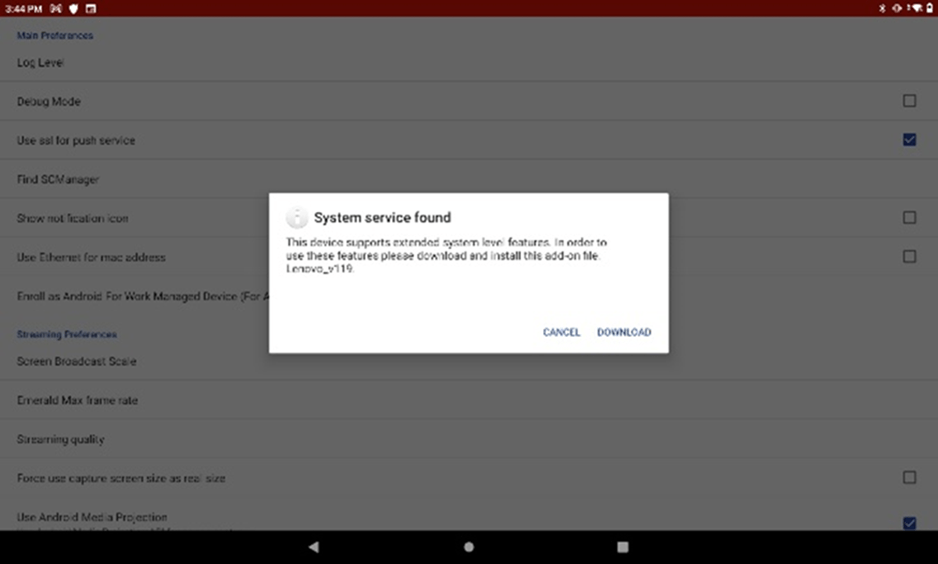
This will install the SCManager service file automatically.
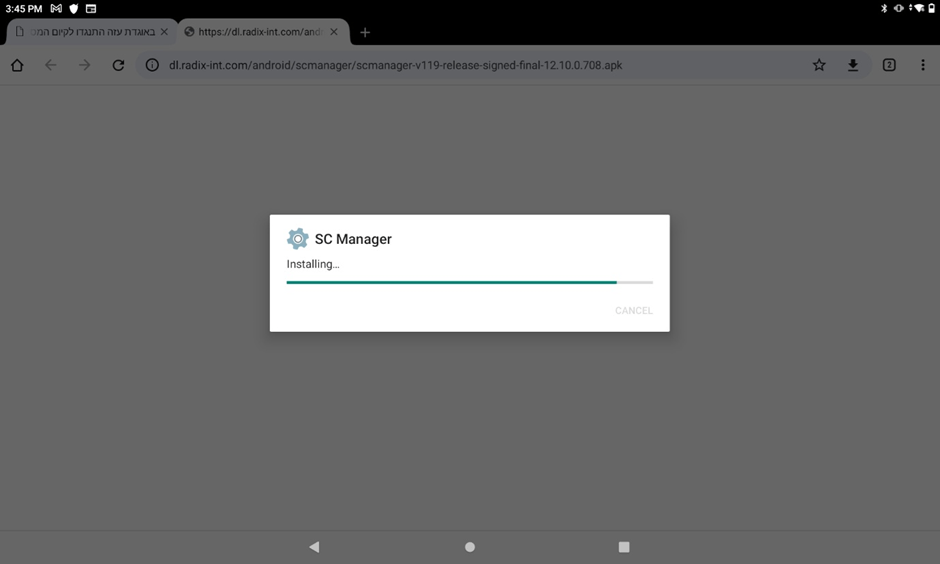
5. You will receive confirmation that the installation was successful.
6. After the installation is complete, the newly enrolled device will appear in the Device Console in the Radix Device Manager: