


 TV Operators
  Healthcare
  Digital Signage
  Hospitality
  Education


 TV Operators
  Healthcare
  Digital Signage
  Hospitality
  Education
 Overview
The Radix Device Manager allows you to create groups of devices by assigning tags to each device. You can create a group of devices by assigning matching tags. Once you have created a group, you can then perform many operations on entire groups of devices with a single command. You can do this using the Group Management option. We will explain how the Group Management option will allow you to install software apps on groups of devices.
Furthermore, you may encounter a situation where a remote device has several users. If there are several users on a device, the Radix Device Manager gives you the option of installing an app for all users of a device or for only selected users.
Accessing the Group Management Option
To access the Group Management Option:
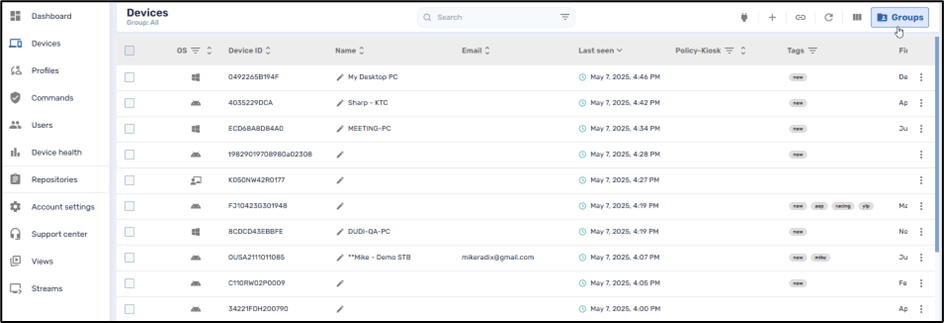
1. Click on the Devices icon in the Radix Device Manager sidebar menu.
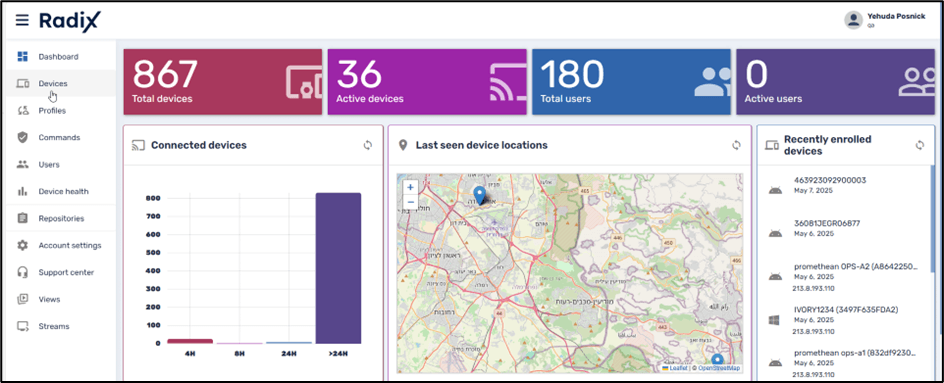
The Devices Console opens.
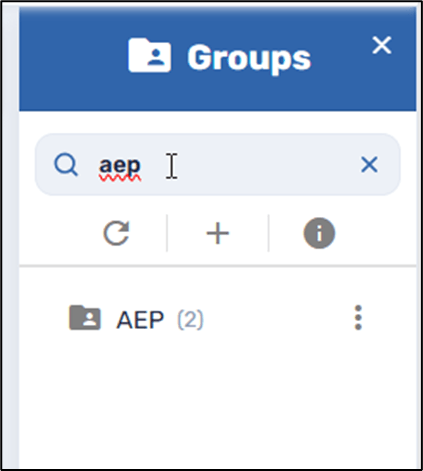
2. Click on Groups on the far right. This displays all of the groups of devices:
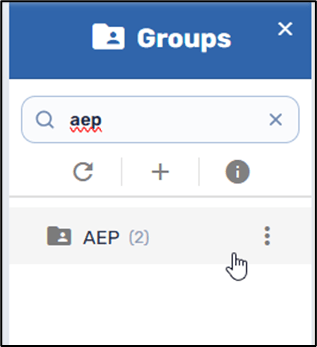
3. Enter the name of the group of devices to which you want to install applications. In our example, we will select the group “aep”:
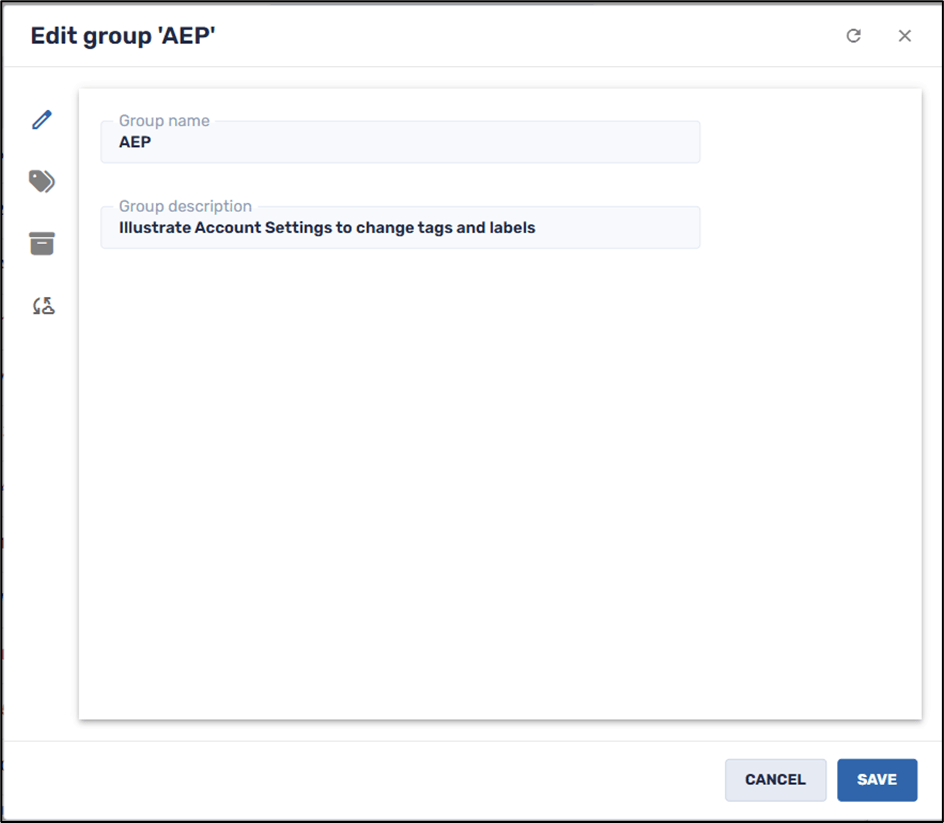
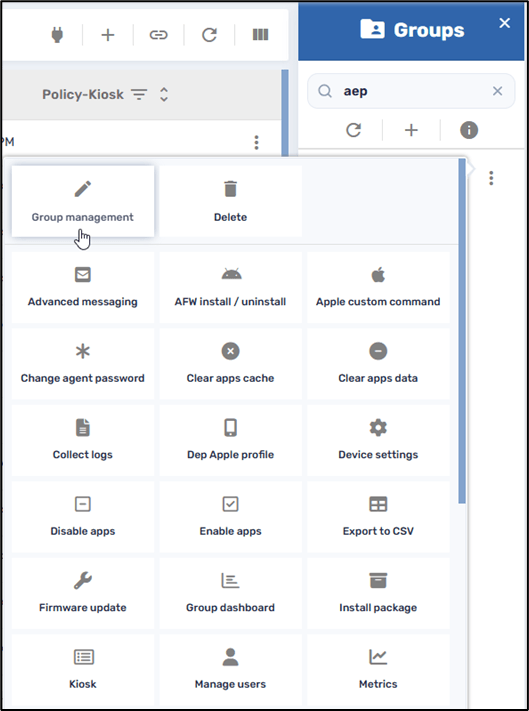
4. Click on the three-dots menu to open the grid of available commands, and select Group Management:

5. In the Group Management window, we see several options:
This table summarizes the icons on the sidebar menu:
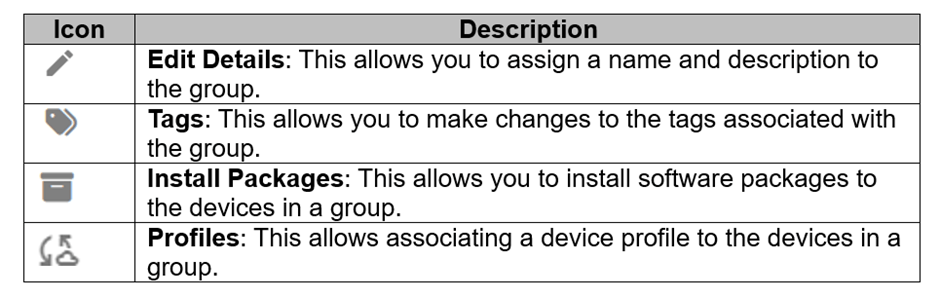
Here we will focus on the Install Packages option.
Installing Apps Using Group Management
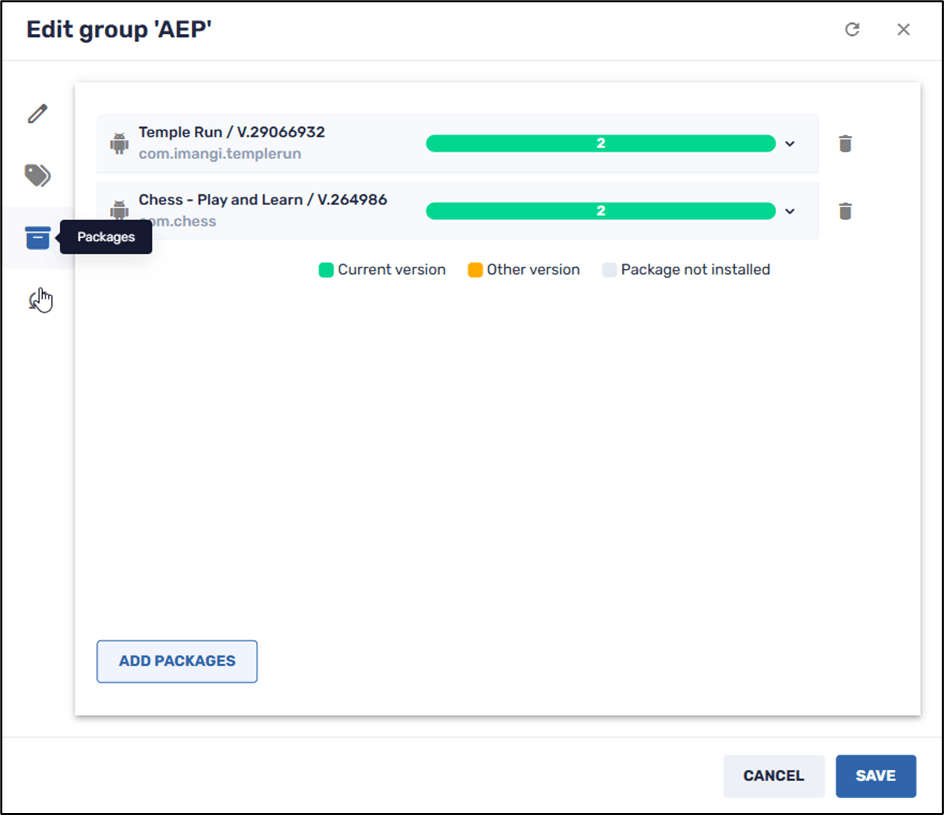
6. Click on the Install Packages icon. The following window opens:
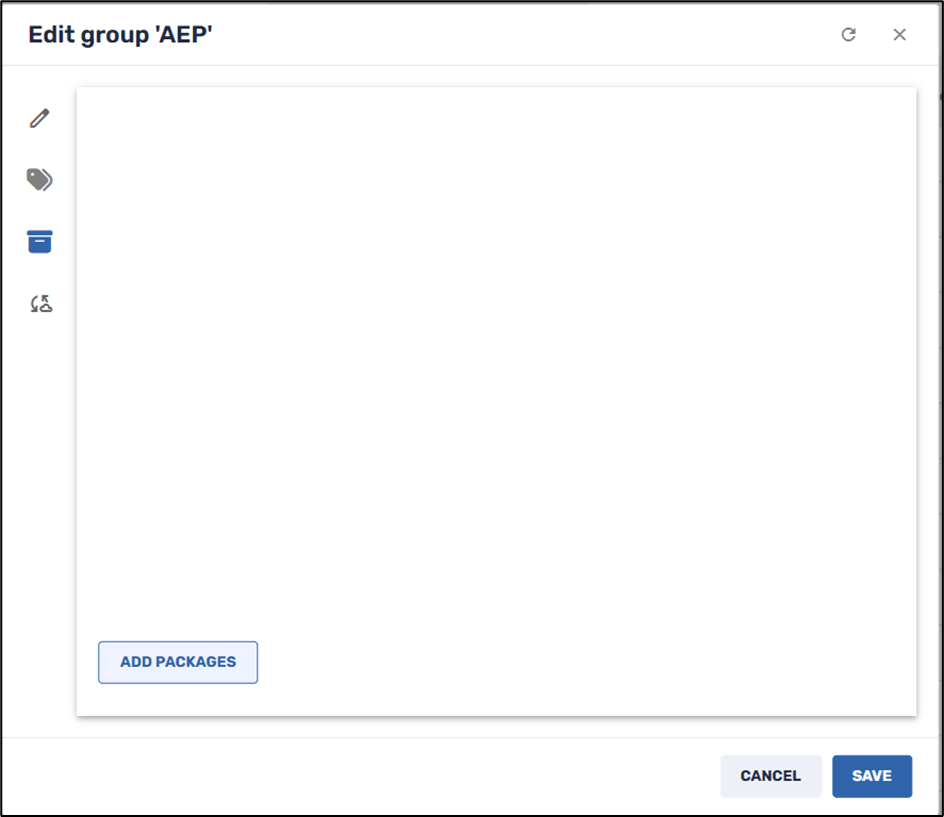
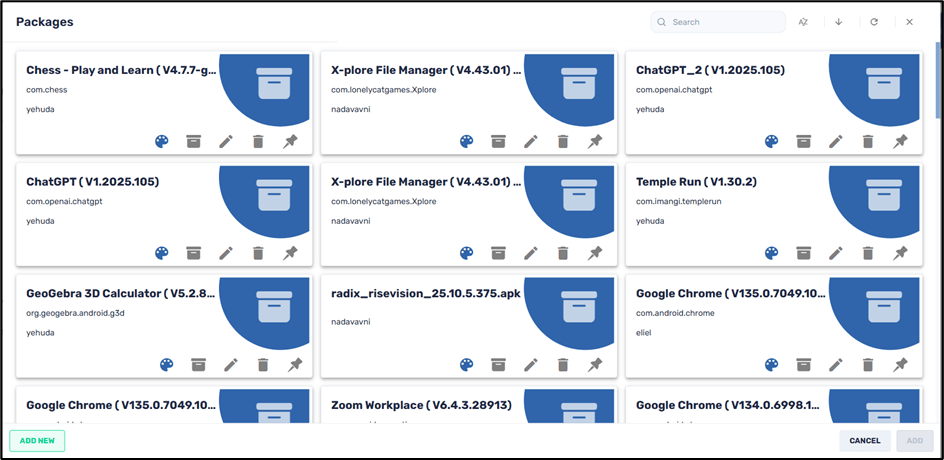
7. Click on Add Packages to open the repository of software packages that you can install.
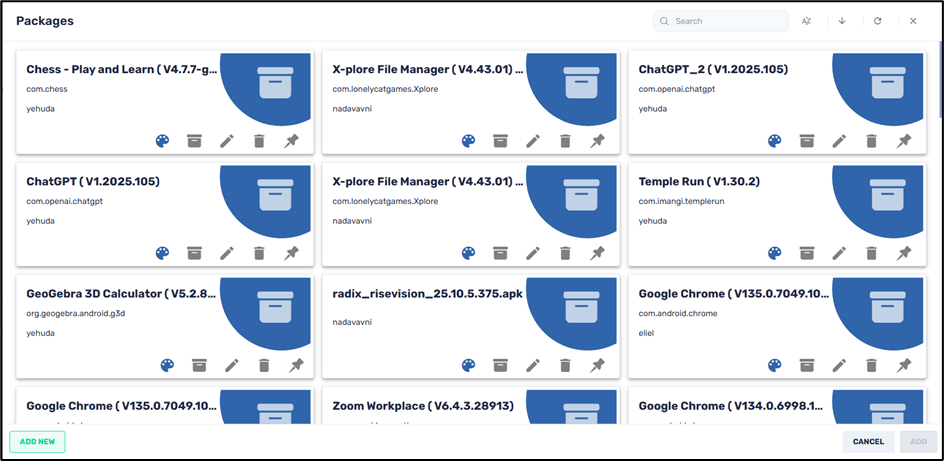
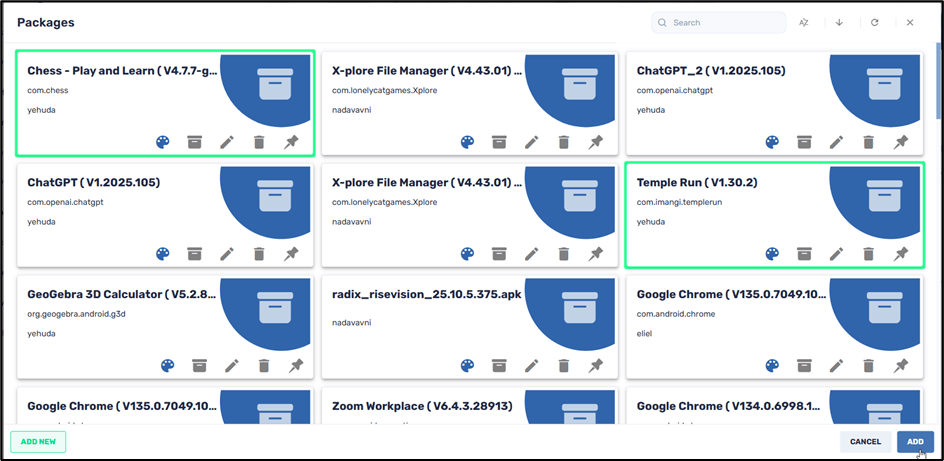
8. Select the software packages that you would like to install by clicking on their respective tiles, and click Add in the lower right corner. To illustrate, we will install Chess—Play and Learn and Temple Run.
Tracking Progress of the Installation
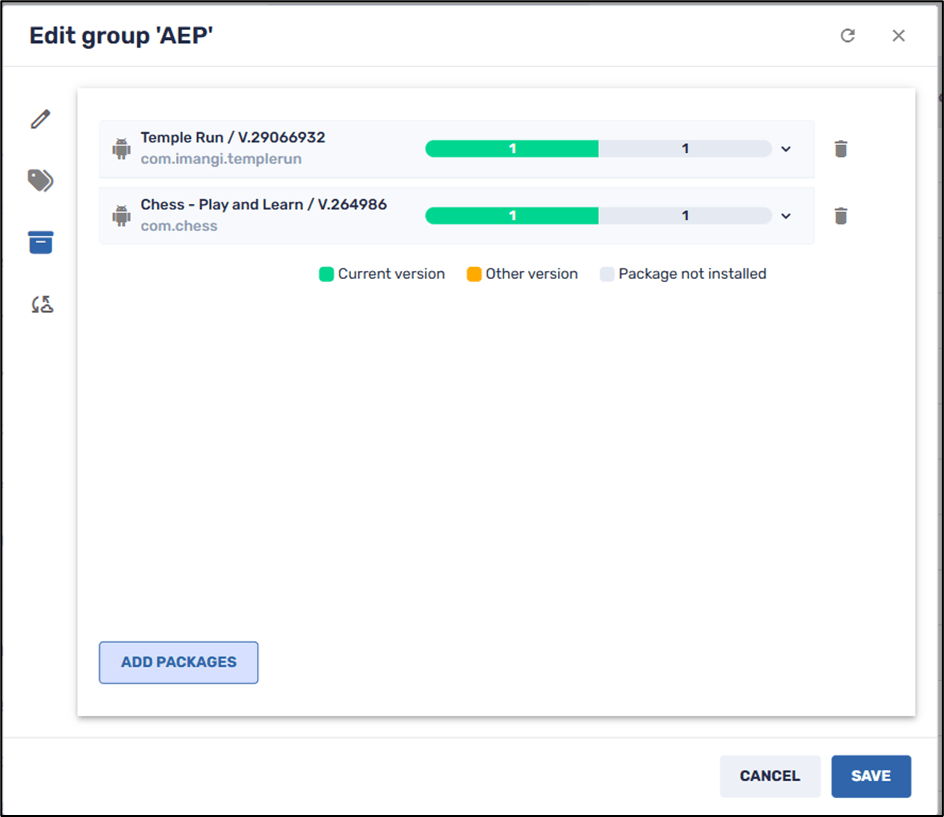
9. Upon clicking Add, the Install Packages window displays the progress of the installation of the apps on the devices:
10. You can click on the Refresh icon in the upper right to check on the progress of the installation.
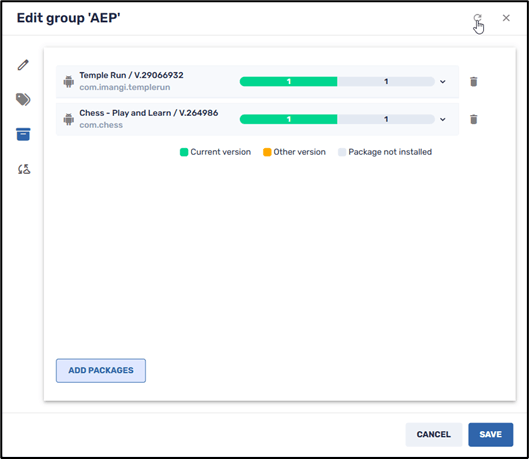
Location of the Refresh icon to view installation progress
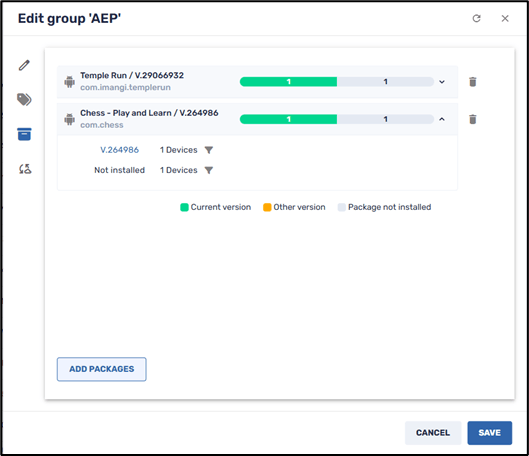
11. Click on the row of the application to get further information about the installation.
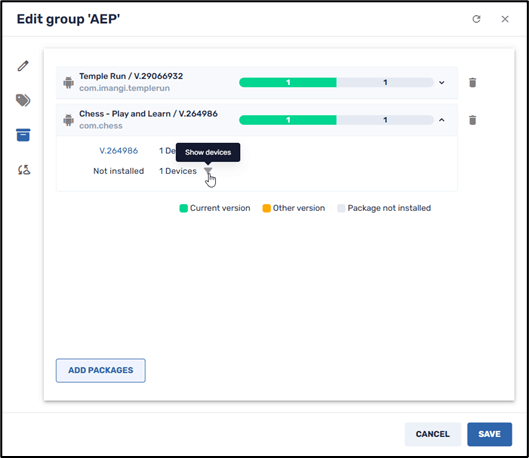
12. Clicking on the Show Devices icon will display greater detail about the installation. You will be able to see immediately which apps are installed properly and which failed to install:
13. Clicking on Quick Search will display which device(s) the application didn’t install properly. It filters the devices by whether or not the Radix Device Manager installed the application properly on the devices.

The results of the Quick Search appear as follows:

Removing Persistence from an Application
As long as an application is listed in the “Edit Group” window in Group Management, the application will have persistence. That means that after the Radix Device Manager installs an application on devices in a group using the Group Management option, you can only temporarily uninstall the app on these devices. If an app appears in the Install Packages pane, the Radix Device Manager will reinstall the application on the group’s devices.
As an example, let us examine the Install Packages pane for the group “aep”:
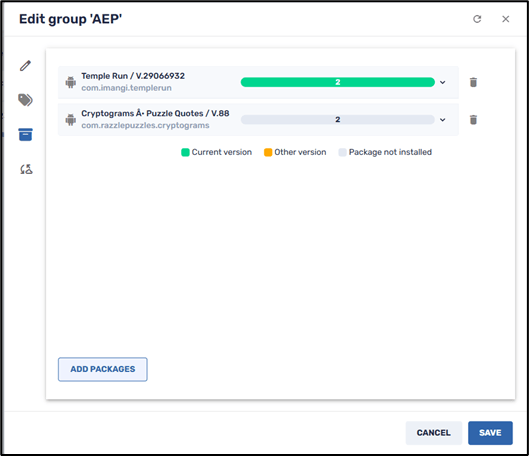
Since the Temple Run app still appears in the Install Packages pane, the Radix Device Manager will reinstall it, even if you or the remote user tries to uninstall it.
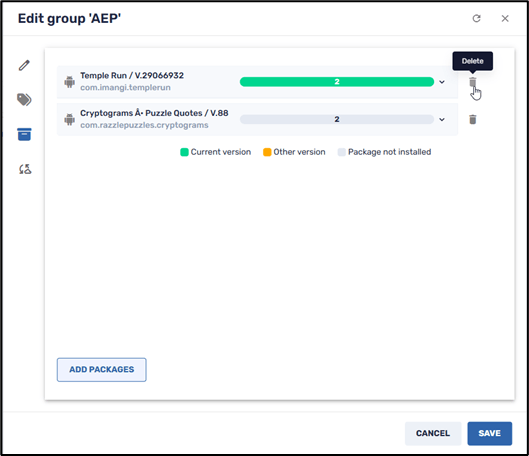
To remove persistence from an application:
1. Click on the Delete icon in the Install Packages pane:
2. Click Save in the lower right to save the changes you have made to the Group Management command.
Uninstalling an Application
Once you have removed the Temple Run app from the Group Management command, you will be able to uninstall it permanently. There are two methods to uninstall an application:
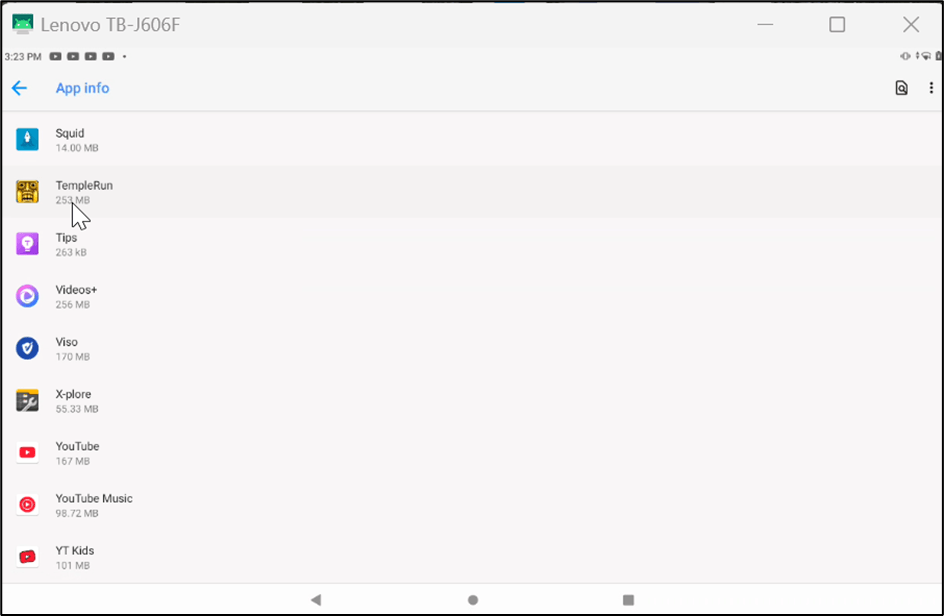
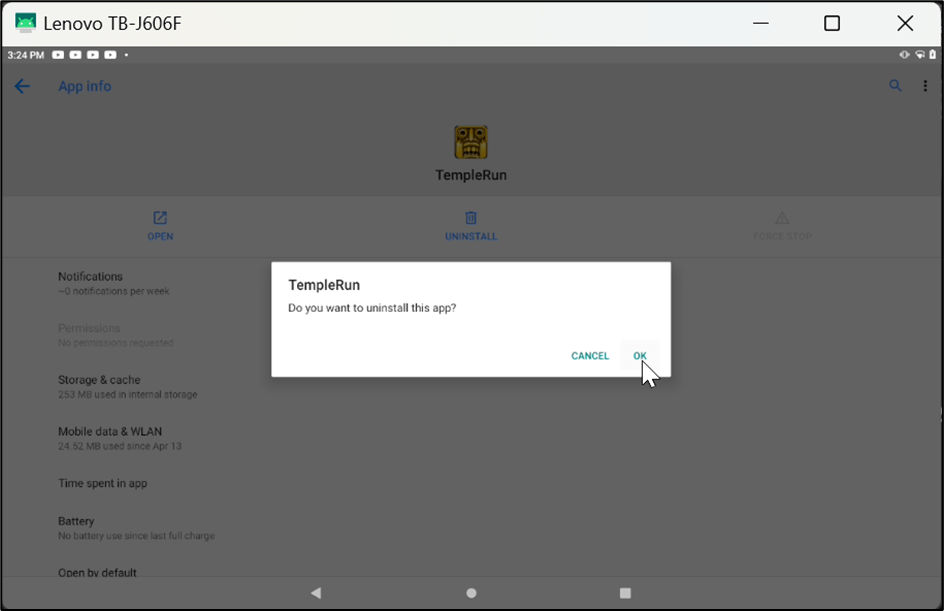
Method One: From the Settings app on the remote device:
1. To uninstall an application from a device, go to Settings>Apps and Notifications, and find the app you wish to uninstall.
2. Click on Uninstall.
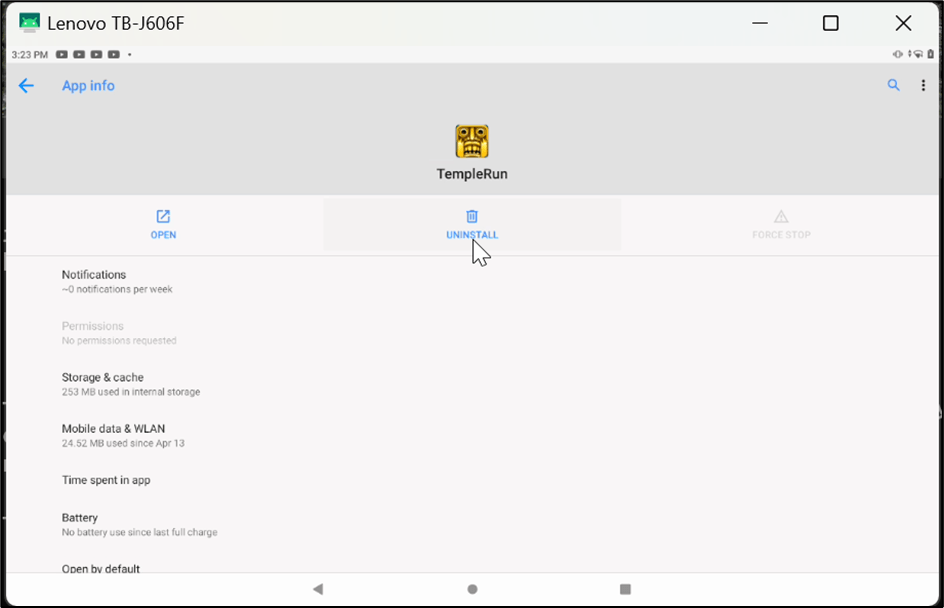
3. In the pop-up notification, click OK to delete the app.
Method Two: Using the Uninstall packages command in the Radix Device Manager
You can also uninstall the app from the entire group by means of the Radix Device Manager.
1. Find the group in the Groups search bar as above.
2. Click on the group’s three-dot menu to open up the grid of commands.
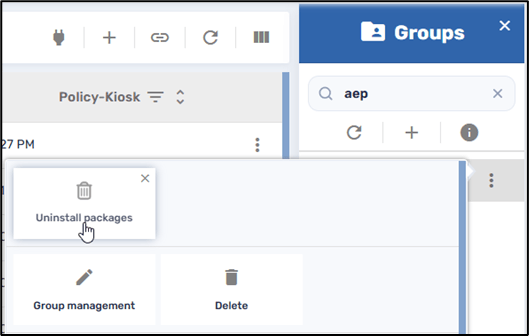
3. Select Uninstall packages in the grid of command options. The Uninstall packages window opens.
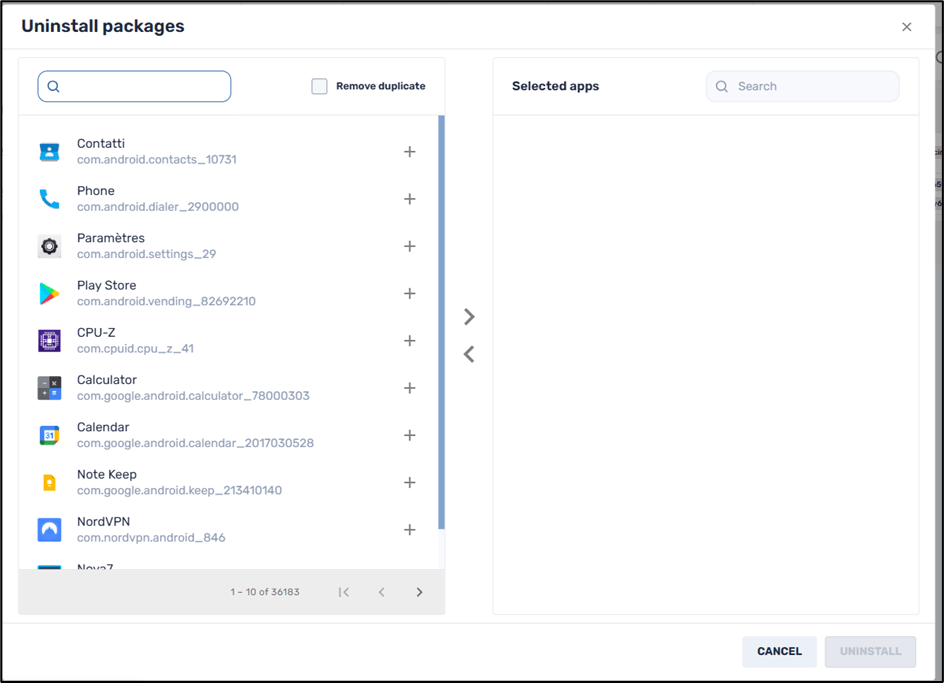
4. Type the name of the app you wish to uninstall in the search bar.
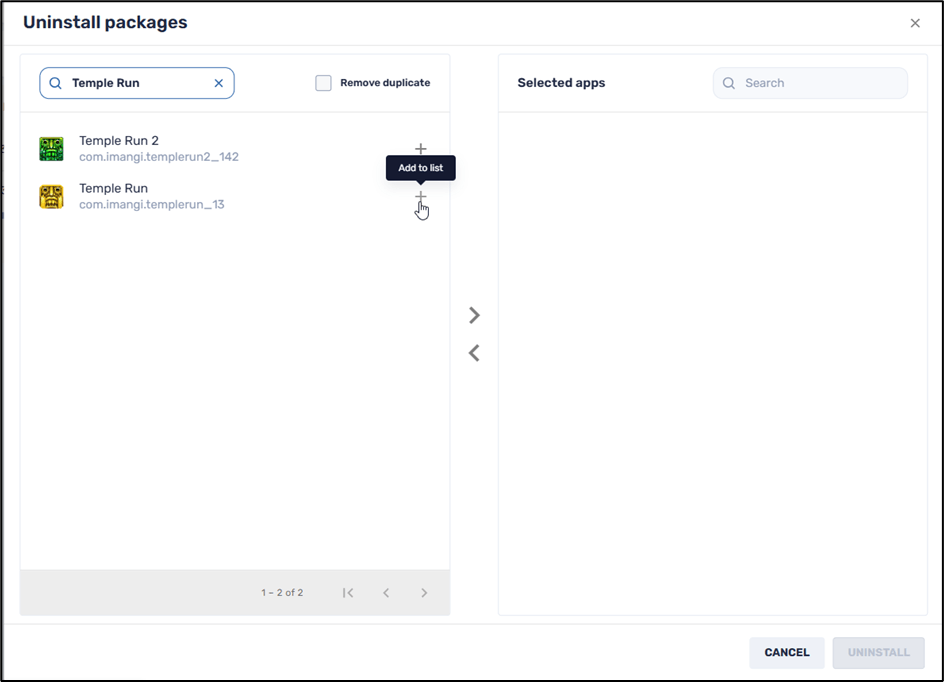
5. Click on Add to list to move the app over to the Selected apps that you wish to uninstall:
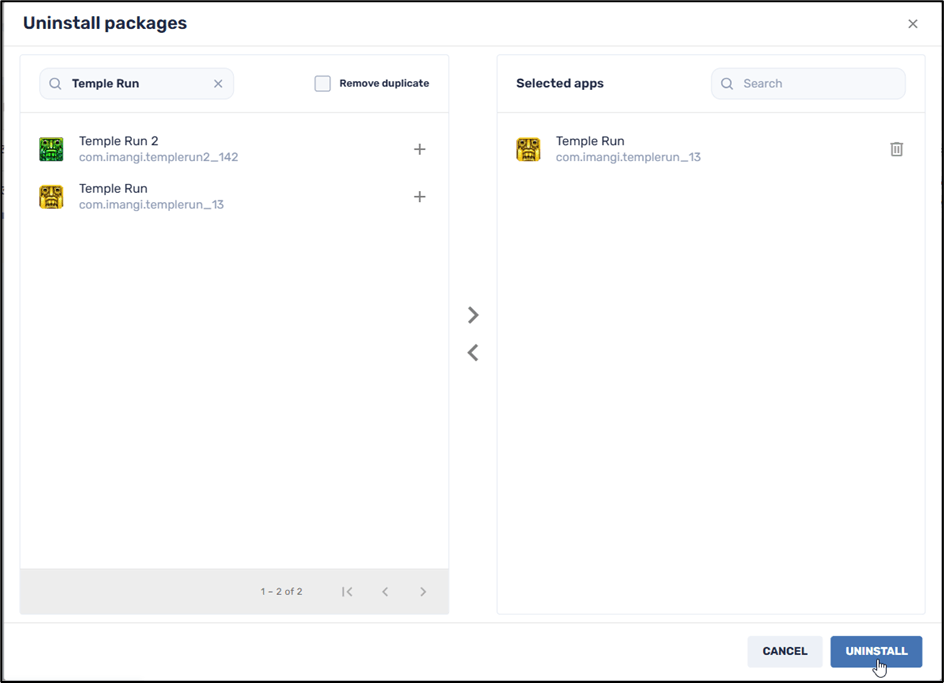
6. Click on Uninstall to complete the uninstall operation.
7. You will receive a notification in the lower left corner indicating whether the app has been uninstalled on all devices in the group:
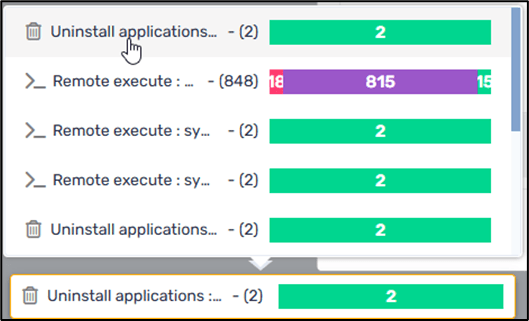
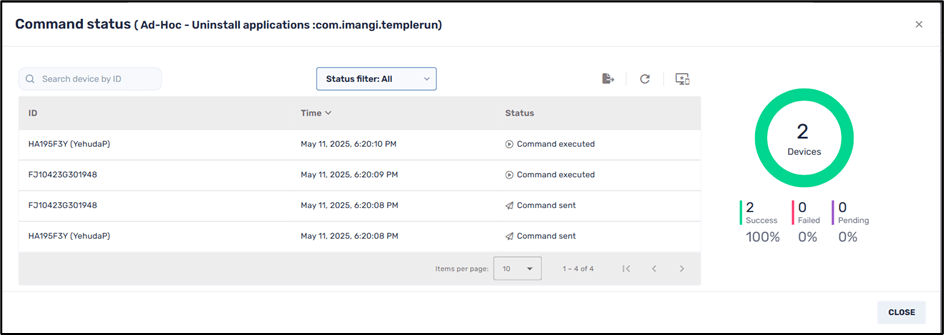
8. Clicking on the specific command will display more details about the uninstall operation:
Installing Applications for Specific Users
There are instances where a remote device may be an Android tablet with several users sharing it, and each user has specific apps that they want installed. The Install Packages repository gives you options for installing an application for all users of a remote device or only a specific user.
To modify the installation for only a specific device user:
1. Click on Group Management in the three-dots menu for your specific group, as above.
2. In the Edit Group window, click on the Install Packages icon.
3. Click on Add Packages to open the repository of software packages:
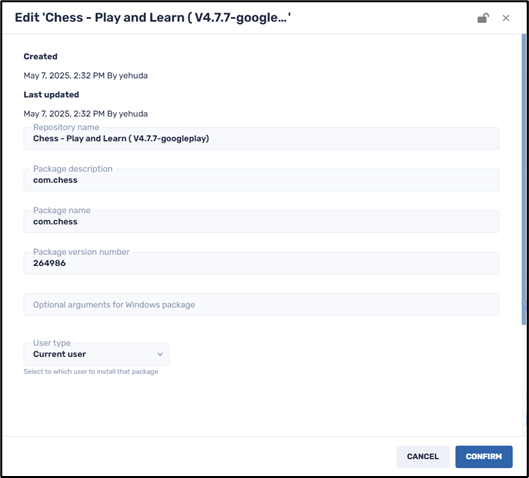
4. Click on the Edit icon for the particular app that you want to install.
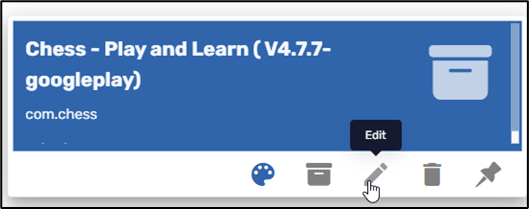
5. In the Edit window that opens, you will see an option to install the app for all users or specific device users:
6. Under User Type, you can select whether to install the app for:
- All users,
- The current user of the remote device, or
- A user that you specify by name.
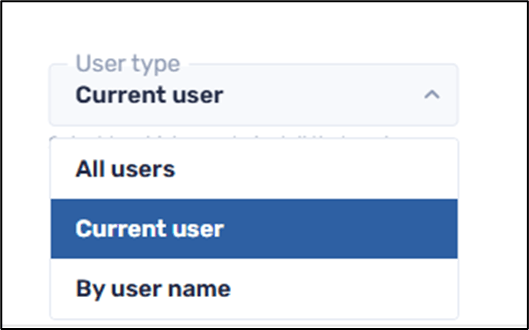
User type options
Note: The “By user name” option may only work on specific devices.
To illustrate, we will install the WhatsApp application on devices in the group to all users of the devices in the group:
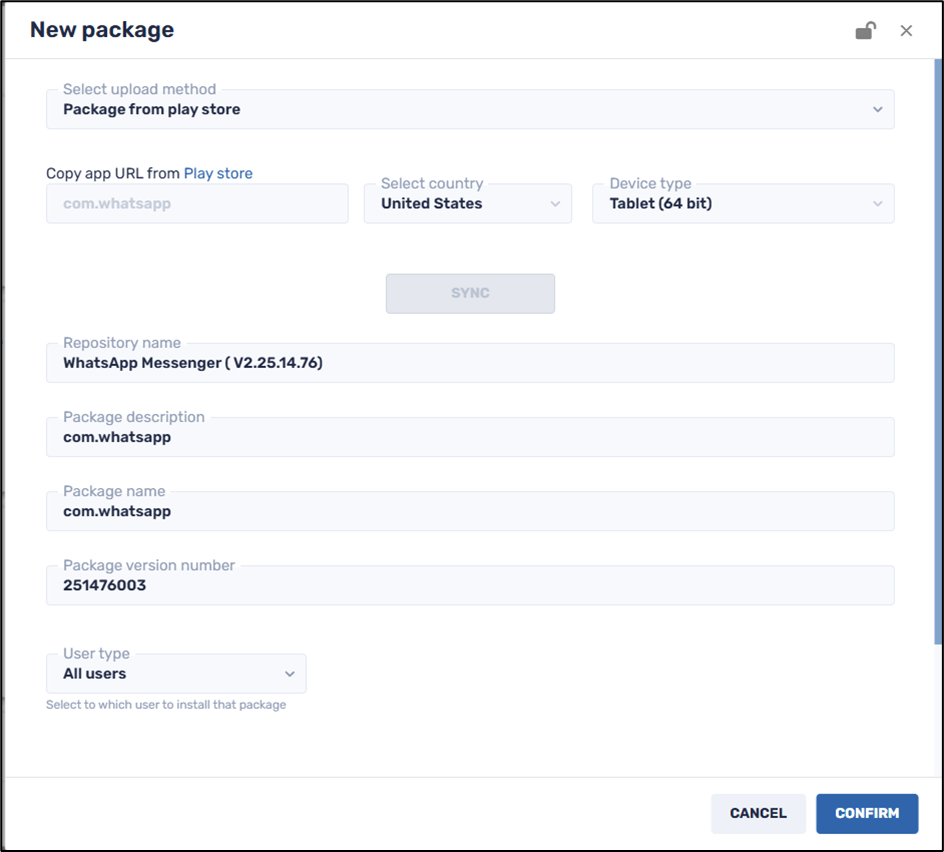
7. Click Confirm to save the installation package to the repository.
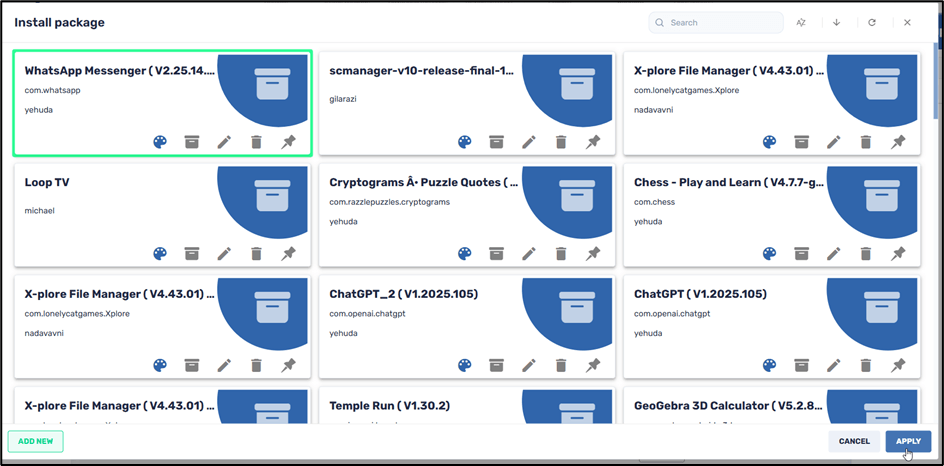
8. Select the WhatsApp Messenger app in the repository and click Apply.
9. If you click on the status bar in the lower left corner, you will see the progress of the installation:
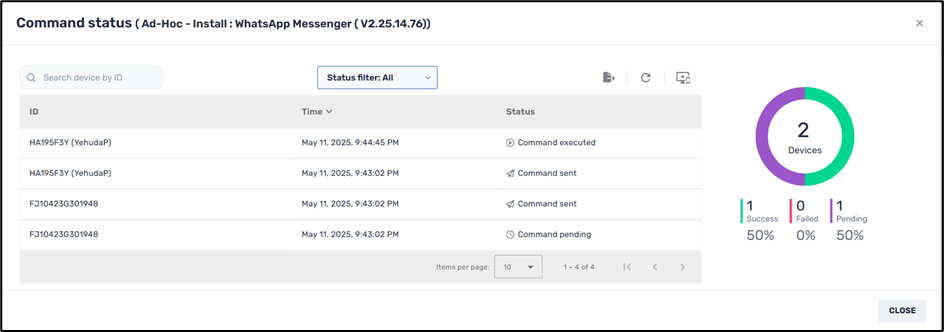
10. If you check the device on which the application was installed, you will see that all users on the device have access to it.