


 TV Operators
  Healthcare
  Digital Signage
  Hospitality
  Education


 TV Operators
  Healthcare
  Digital Signage
  Hospitality
  Education
 Overview
Once you have created a View for digital signage purposes, it is possible to edit the View in the Views Console. Editing the View can entail modifying the content of the View or changing the devices that will display the View.
Note: If the View is presently displaying on a group of devices, any changes that you make in editing the View will not take effect immediately. You will have to first stop the View currently running and start it again with the new content.
Editing an Existing View
To edit an existing view:
1. Click on the View icon on the specific view you would like to edit.

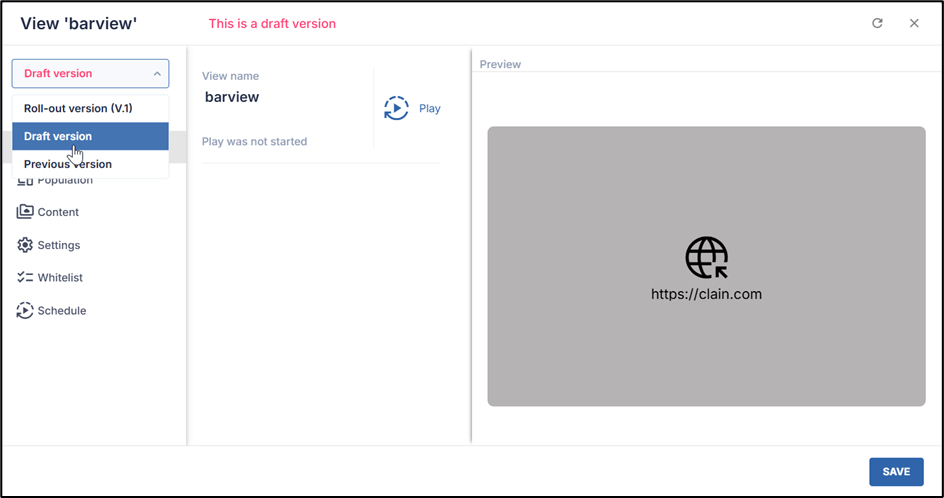
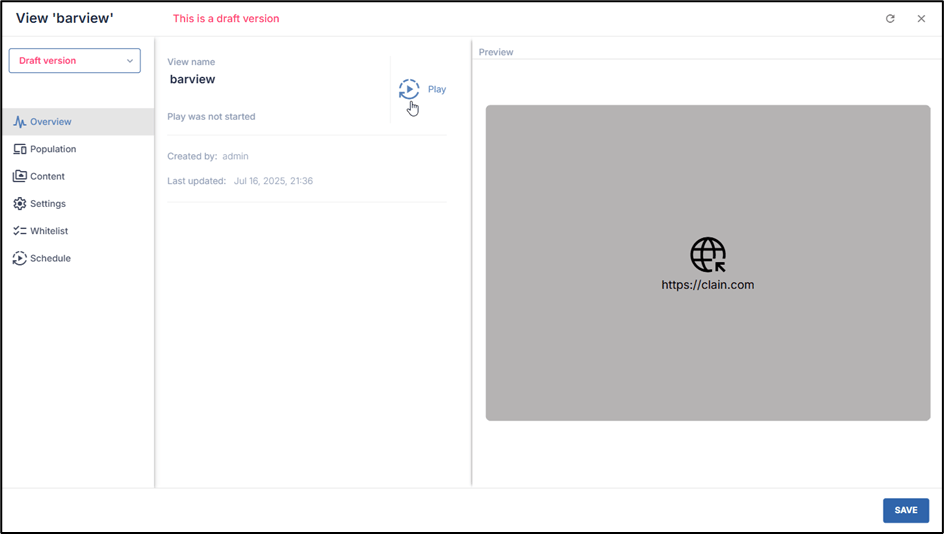
2. The View window opens in Roll-out version. While in Roll-out version, you can see the content of the View, but you will not be able to edit it. To edit the view, go to the drop-down menu in the upper left corner and select Draft version.
3. While in Draft version, you can click through the tabs in the sidebar menu as when creating a view:
View Console Sidebar Menu Options
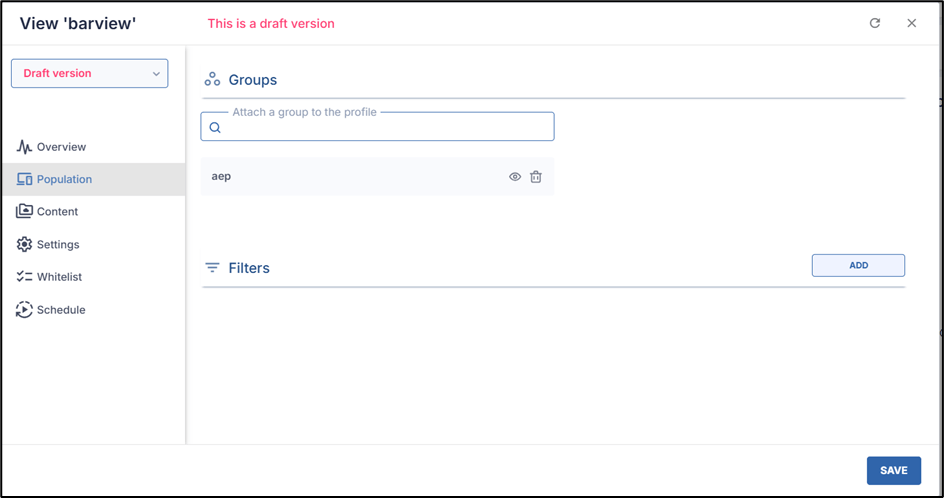
- Population, for associating a group of devices with the View, on which the View will be displayed. In the example below, the View will be displayed on the group of devices called “aep”.
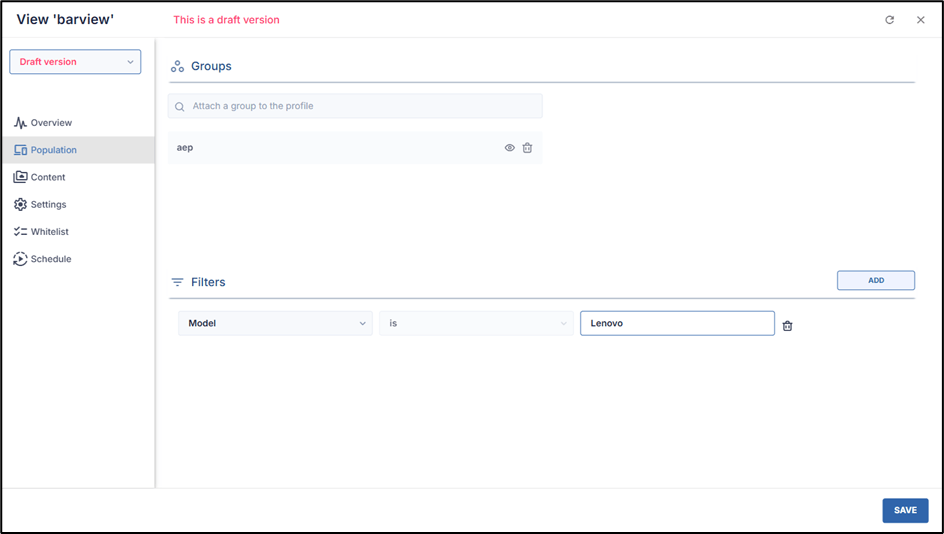
If you also applied a filter in the Population tab, only the devices that satisfy the filter options will display the View. In the example below, we chose to limit the display to only Lenovo devices in the group “aep”.
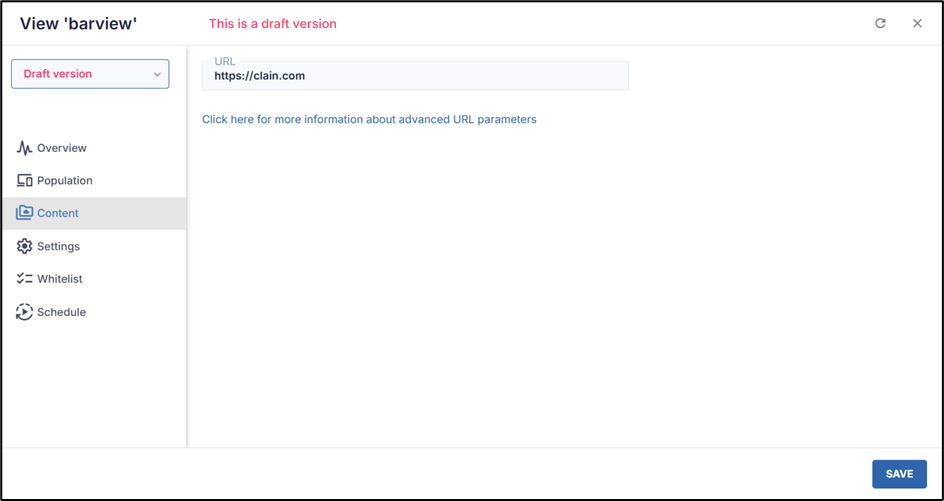
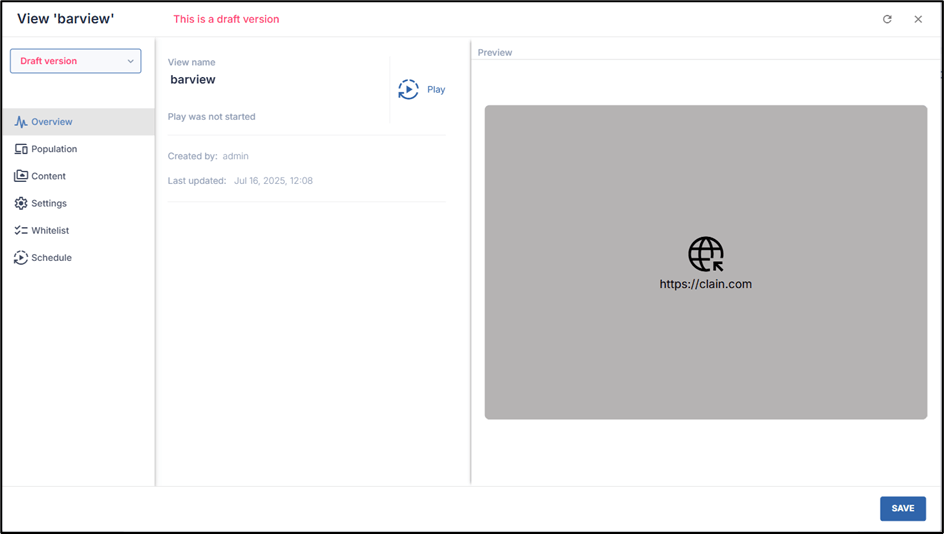
- Content, to specify a URL to be displayed on the remote devices in the group. In the example below, we have selected the URL “https://clain.com”:
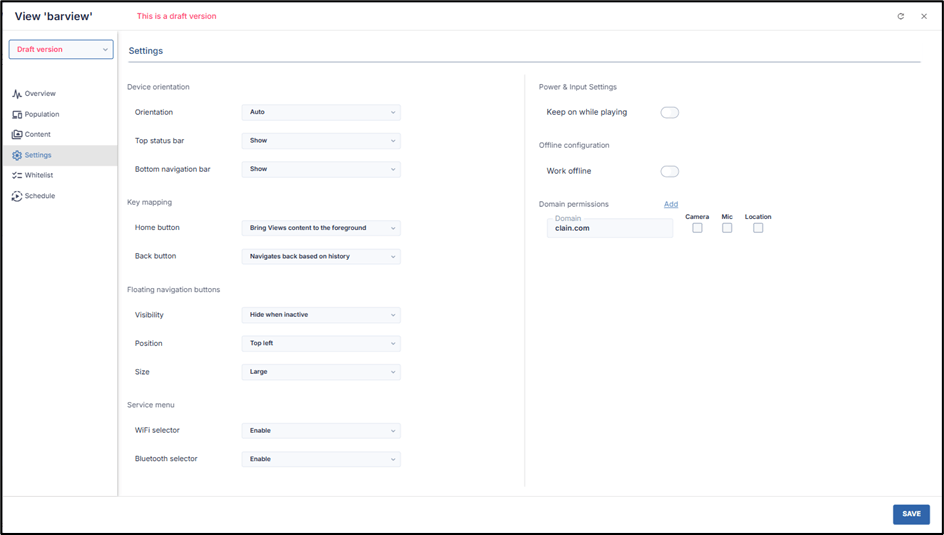
- Settings, to select how to display the View on the remote devices.
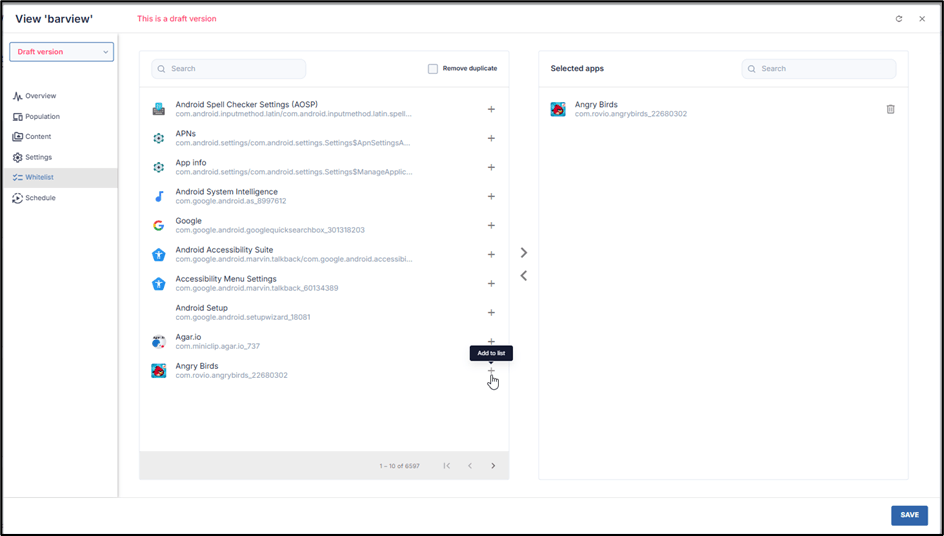
- Whitelist, to select which apps will be accessible while the View is displayed:
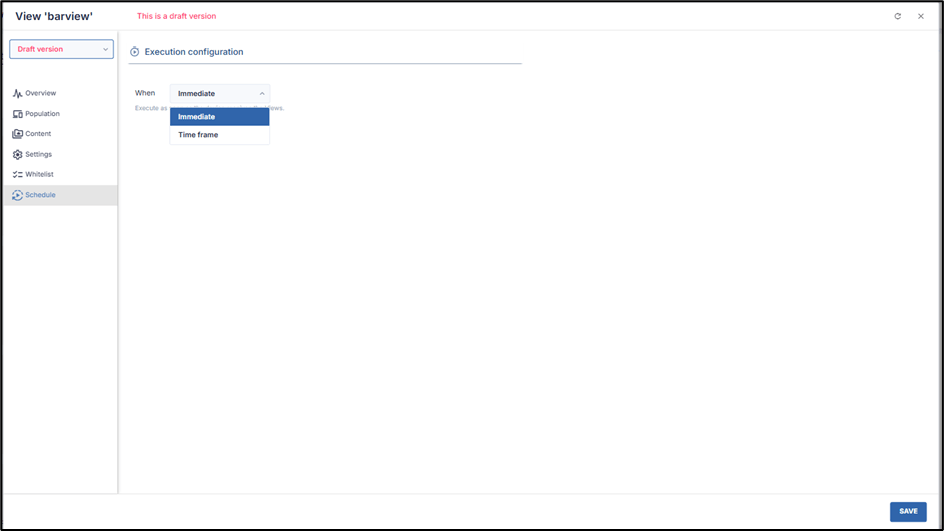
- Schedule, to determine when you wish to start displaying the View. You can choose to display it immediately or to specify a later time.
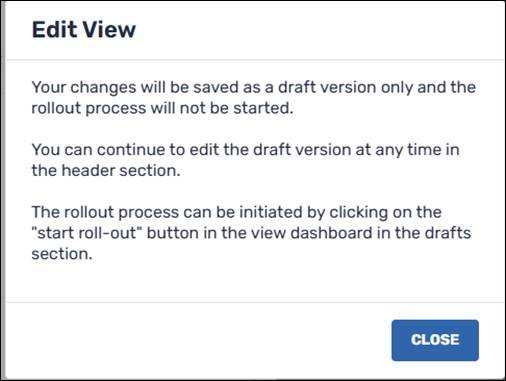
4. Upon completing the changes to the View, click on Save in the lower right corner. You will receive the following notification, explaining that the changes will go into effect only after you roll out the View.
Activating the View
After editing the View, you must now activate it and sync it with the device group.
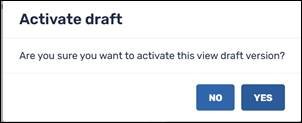
5. To roll out the View, go to the Overview tab and click on Play.
6. You will be prompted if you wish to activate the draft. Click Yes to implement the changes and run the view on the selected group of devices.
7. The View item will now show that it is running on a group that consists of three devices:

Running a View
To display a view on remote devices, we first must go into Draft mode.
To display a View:
1. Click on the View icon of the view that you would like to run.

2. Select Draft version in the drop-down list in the upper left corner. When in Draft version mode, you will be able to edit the View, as well as schedule when to play it.
3. In the Overview screen, click on the Play icon.
The interface will ask you to confirm that you want to activate the view.
4. Click Yes to run the View.